
Last week my new bullet journal arrived and I have been dying to get it set up. But I promised myself that I would document the ‘how to’ in order to share here. If you missed the first in this series, check out this post here.
Before I even received the new journal in the mail, I was already planning ahead because while I love a good journal, I can psych myself out over “messing it up” and going in without a plan feels way too risky. So instead, I plan and take my time to set it up. We’re 2 months away from the new year so this allows me to spend my time planning and laying out the journal. Once your journal arrives you can jump right in!

Number the Pages
If your journal doesn’t come with pre-numbered pages, the first thing to do after unwrapping, in my opinion, is to number your pages. In previous years I’ve done the bottom outside corner and then the inside corner but I find both get in the way of layouts. I stopped doing the outside corner because I wanted to edge the paper with washi tape.
This year I decided to go simple and just label the bottom middle of each page, odd and even. Simple. Easy.

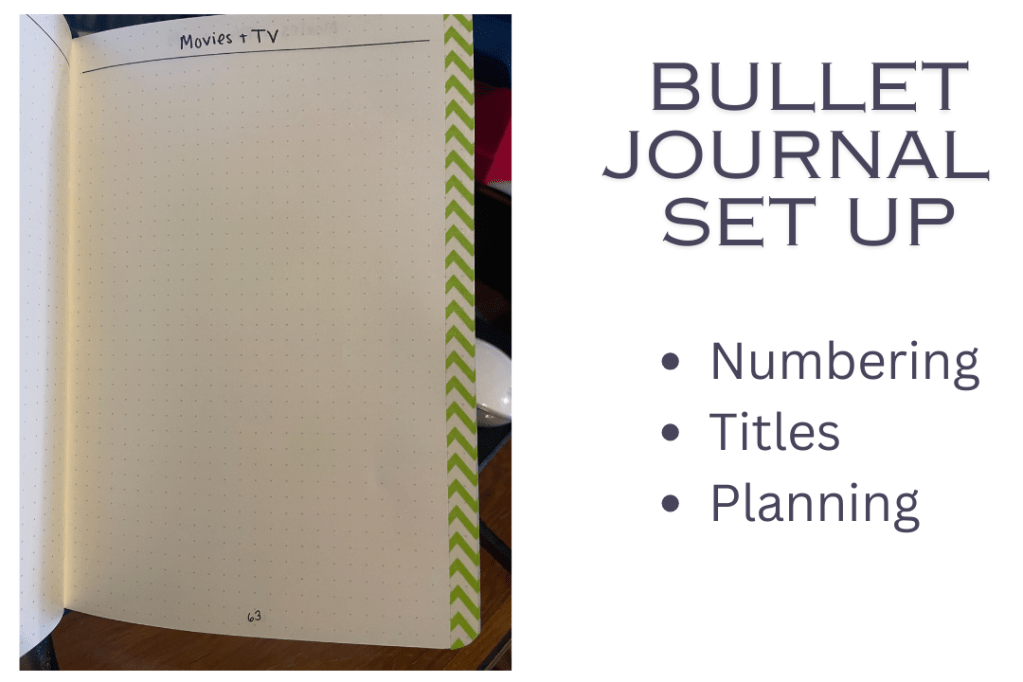
I also title most pages, drawing a line on the third row of dots from the top in order to identify what goes on each page. In the pic above you can see the green washi tape, the page numbering and the title on a random page.
Figuring out what to put on each page can be flexible – fill it in as you go – or planned for control freaks like me 🙂
Plan Your Pages
Numbering the pages is the first step for me because I plan which spreads are going on each page. While this isn’t an essential step, I do find it’s helpful. In 2022 for example, I ran out of space for tracking miles because I’d left enough room to track 6 months worth of progress, not 12. I’ve also made the mistake of leaving too many pages for something I don’t track regularly and that feels like wasted space.
You’ll learn how you use your journal best over time, don’t overthink it so much you don’t get started.
To do my planning I first go to Google Drive or Excel (I prefer drive so I can access it from any computer) and set up a new spreadsheet for my bullet journal organization.
My columns across are: L/R, Page #, Section, Detail, Washi Tape and then checkboxes for Numbered, Designed and Washi tape so I can track where I left off. Here’s how it looks:

Then down the A column under L/R I write Left, Right, Left, Right alternating down to line 193.
In the B column I start with the number 1 and go down to line 193.
This is because my journal has 192 pages so now I have one line per page and I know if it’s on the left side of the journal (even pages) or the right side (odd pages). This will be helpful later as you’re looking at page spreads (2 pages left and right).
Now let’s talk about the Sections. This is my own terminology and how I mentally visualize the different types of pages. I will reorder pages within a section or move entire sections around, but everything stays together. This helps me to avoid having my weekly spreads from pages 100-145 and then run out of room and stick the last 2 months of the year on pages 146-155.
| Tip: While you can do this planning in a Word doc or even on paper, if you want to easily move pages and sections around, Excel is where it’s at. Once you start designing your pages you can even filter the spreadsheet to one section or to only show pages that need to be designed. It’s very handy and I recommend it. |
Using Sections for my pages also helps me group like pages together because over the past few years I have found that it’s hard for me to have similar tracking in multiple places. In 2023 I had 6 or 8 pages per month and in each month I’d have a reading list. Well, I hated it. I wanted all my reading tracking in ONE place. I also found that I didn’t really like tracking business goals in the journal, I wanted it to be all personal. So that changed.
Here are the current Sections and Sub-sections I use:
- Admin (this is set up for the front of the journal)
- Budgeting
- Calendar (Weekly Spreads)
- Cooking
- Health Habits
- Household Habits
- House Projects
- Media
- Audiobooks
- Books
- Podcasts
- Movies & TV
- Pets
- Quilting
- Weather Tracking
Some of these sections take 53 consecutive pages, other take 4. The sections don’t need to be even and don’t really need to be labeled, it simply helps me plan. I also don’t have them in the journal in alphabetical order!
Once my sections are filled in I can go into detail on what pages I want. Let’s use Household Habits as an example.
Here’s how it looks in my planner:

The first 3 pages are for Decluttering goals. I decided to create 52 “zones” in my house and plan to tackle one per week to clean, organize and declutter the space. A zone might be my desk in the office or the coffee cart in the dining room. It could be a dresser or one shelf of books. These pages give me room to list out each zone and track my progress throughout the year. On the 4th page in this section I listed some easy 15-min chores and then a dedicated task for each day (such as laundry on Monday).
The next 2 pages are monthly cleaning chores, which I used to write out monthly. The problem was I hated writing out the same chores month after month and then just stopped doing them regularly. With this plan I’ll have 30ish monthly chores and then all 12 months of the year in one grid to check off each task. Monthly tasks are mostly cleaning chores such as washing my pillows, deep cleaning the sinks or cleaning out the freezer.
Finally this section has 12 pages, one for each month of the year. I like to take on mini challenges which would not necessarily rollover from month to month. For example, in November I try to write 1,660 words a day for NaNoWriMo and in June I may need to go outside every day to water the garden. These can be fun challenges too, in the summer I try to swim in the pool every day and in January I want to light a candle and read daily. I will set up these monthly pages but not fill in the challenge until the month arrives.
I’ll be diving into each of the sections of my bullet journal in the coming weeks (I’m thinking I’ll post these on Fridays) so check out the Bullet Journal category or the jump links at the bottom of each post.
If you’re like me and don’t like going in cold to design 192 pages in a journal and worry you’re going to mess something up, I highly encourage you to start a planning doc and take it simple by numbering your pages. Everything else can come later.
Coming Soon:
- Admin
- Budgeting
- Calendar (Weekly Spreads)
- Cooking
- Health Habits
- Household Habits
- House Projects
- Media
- Pets
- Quilting
- Weather Tracking
